Insert Data Through HoppySearch UI
When it comes to populating your data in HoppySearch, you have two user-friendly options:
- Uploading a JSON file
- manually adding records
Below, we walk you through each method.
Uploading a JSON File:
To effortlessly upload a JSON file to HoppySearch, follow these straightforward steps:
- Go to the indices page on Hoppysearch.
- Select the index to which you want to add data.
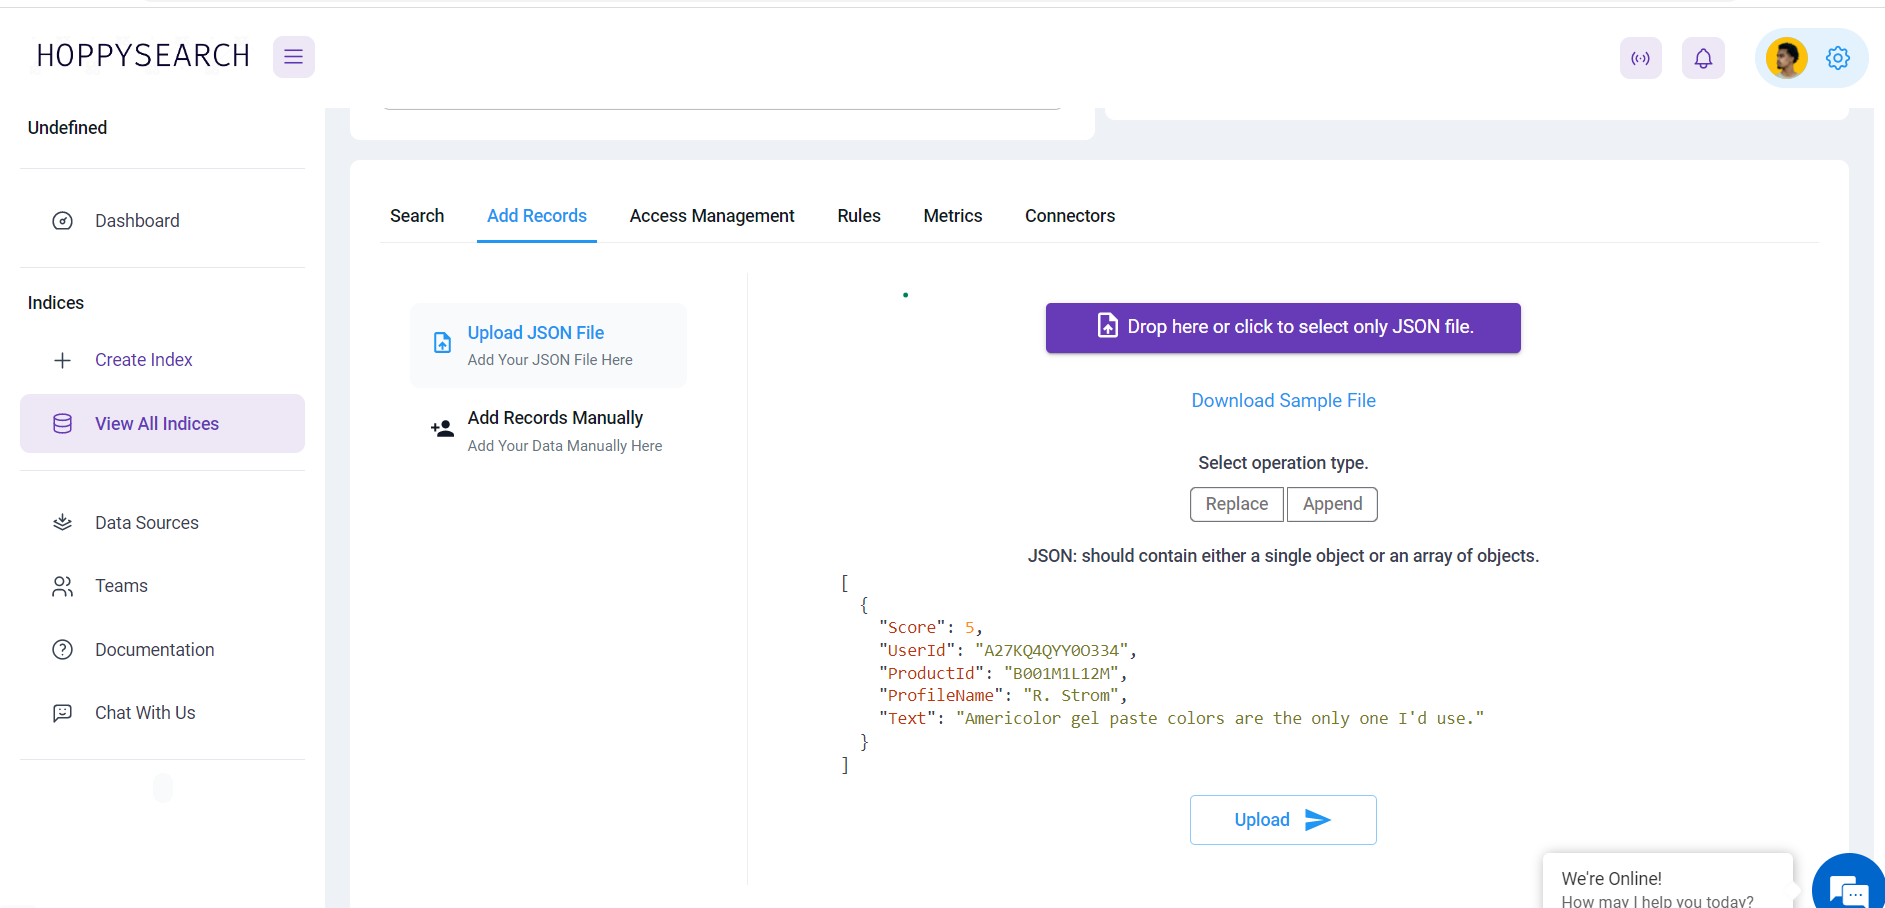
- Click on the "Add Records" tab.
- Click on the "Upload JSON File" button.
- Click on the "Drop Here or Click to Select Only JSON File" button to select your JSON file.
- Choose the operation type:
- Replace: Clear all previous data in the index and replace it with the newly uploaded data. If no data is present, then add the newly uploaded data to the index.
- Append: Add the newly uploaded data to the existing index. If no data is present, then add the newly uploaded data to the index.
- Click on the "Upload" button to upload the data.
Add records manually
To add records manually to Hoppysearch, follow these steps:
- Go to the indices page on Hoppysearch.
- Select the index to which you want to add data.
- Click on the "Add Records" tab.
- Click on the "Add Records Manually" button.
- Choose the operation type:
- Replace: Clear all previous data in the index and replace it with the newly uploaded data. If no data is present, then add the newly uploaded data to the index.
- Append: Add the newly uploaded data to the existing index. If no data is present, then add the newly uploaded data to the index.
- Click on the "Upload" button to upload the data.

By following these straightforward steps, you can seamlessly insert your data into HoppySearch through the user interface, whether it's by uploading a JSON file or adding records manually. Choose the method that aligns with your preferences and needs to efficiently manage your data within the HoppySearch platform.