Introduction and Initial set-up
When working with JavaScript/Node.js, certain tasks can be quite challenging, including:
- Interacting with an Index: Managing data indexes efficiently.
- Clearing Index Data: Deleting all data when you required.
- Integrating Search Operations: Implementing search functionality seamlessly.
To simplify these processes, HoppySearch introduces its JavaScript/Node.js client. With this client, you gain access to a suite of powerful features that streamline your JavaScript/Node.js development experience:
Key Features:
- Add Data to Index: Easily add data to your index, making it accessible for search operations.
- Search Operations:
- Normal Search: Perform standard searches with ease.
- Lucene Search: Harness the power of Lucene-based searching for advanced queries.
- Statistics: Gather valuable statistics to gain insights into your index and data.
- Delete Data from Index: Effortlessly remove specific data entries from your index.
- Clear Index Data: Quickly clear your index data to maintain a fresh and efficient search environment.
With the HoppySearch JavaScript/Node.js client, you'll discover a simplified and efficient way to handle indexing, search, and data management, empowering you to focus on building robust Node.js applications.
How to Use the HoppySearch JavaScript/Node.js Client:
Step 1: Installation
-
Begin by installing the HoppySearch client via npm. For more detailed information, visit (https://www.npmjs.com/package/hoppysearch).
- cmd
npm i hoppysearch
Step 2: Initial Configuration
-
Set up the initial configuration by including the HoppySearch module, your index ID, and your API key in your project.
- JavaScript
const HoppySearch = require('hoppysearch');
const indexId = 'YOUR_INDEX_ID';
const apiKey = 'YOUR_WRITE_API_KEY';
const hoppysearch = new HoppySearch(indexId, apiKey);
Step 3: Where to Find Index ID and API Key
To obtain the necessary index ID and API key, follow these steps:
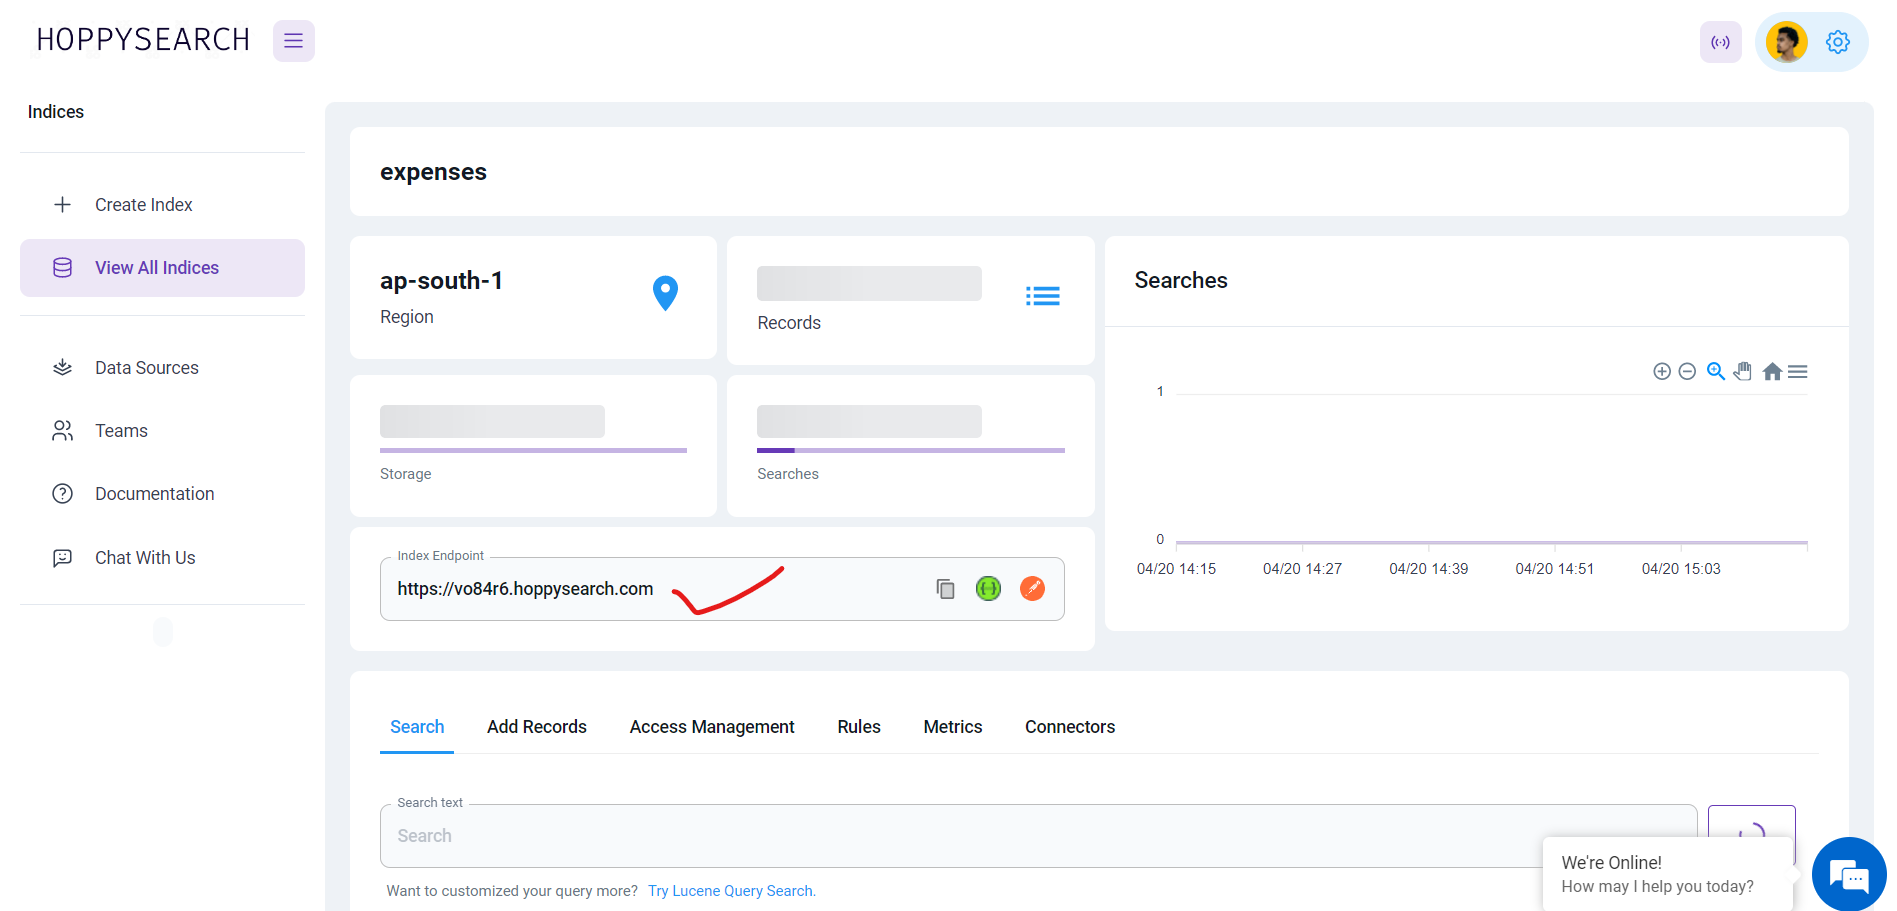
- Visit the /indices page at (https://hoppysearch.com/indices) and select the specific index you wish to connect with.
- Index ID: Retrieve your unique index ID from the index endpoint. For example, if your index endpoint is (https://unm8df.hoppysearch.com) your index ID is "unm8df."
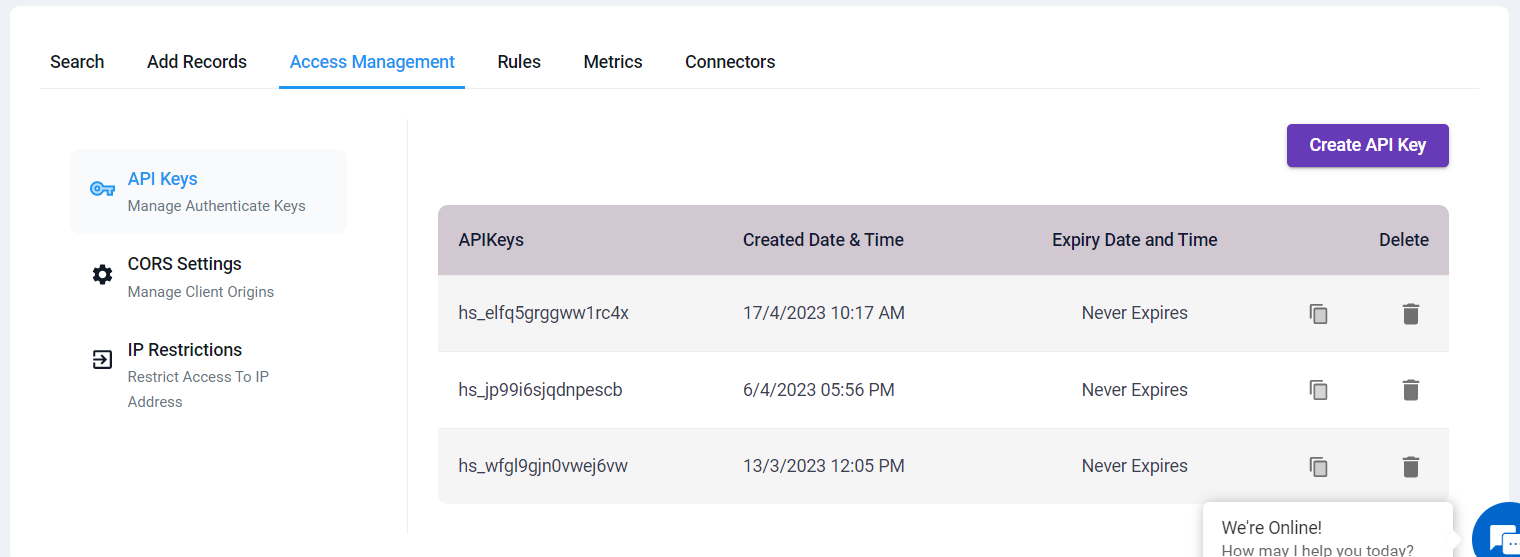
- API Key: Access your API key in the "Access Management" -> "API Keys" section.
Step 4: Ready to Use
- You are now fully prepared to utilize the HoppySearch JavaScript/Node.js client to serve your specific needs. Depending on your purpose, follow the specific instructions provided by the client to interact with your chosen index and perform various operations.
With these straightforward steps, you can seamlessly integrate and utilize the HoppySearch JavaScript/Node.js client to manage your index, execute search operations, and handle data management tasks efficiently.